Quick Start Guide
Start App
When you open the app for the first time after installation, you will be asked whether you want to set up the demo service (a platform with CommonsBooking, which contains some demo entries).
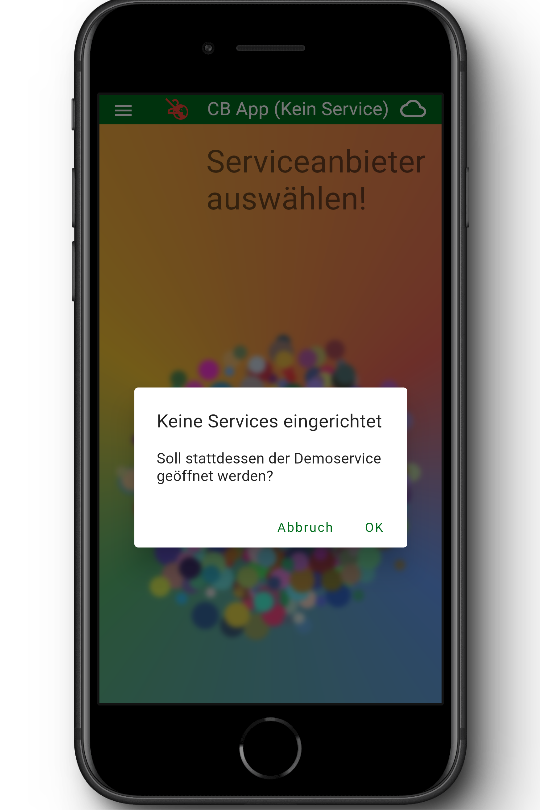
If you already have the link of a provider, you can tap Cancel here and go to the next step. Otherwise, click OK to skip the next step “Register service” and go directly to the “First steps” section.
Register Service
To register a service, you first need the url of the website of a provider that supports the CommonsAPI.
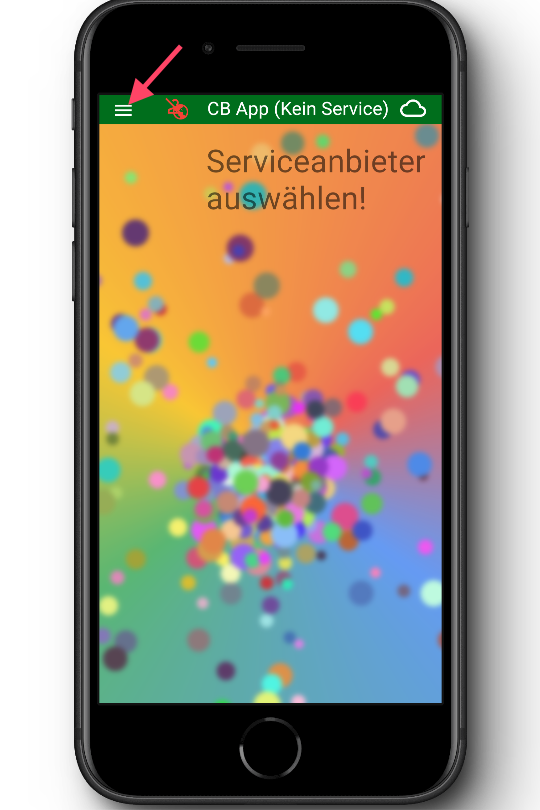
There are various ways to register a service provider in the app, whereby the route via the main menu is selected here. You open the main menu via the button at the top left (three horizontal bars).
Open “Service new” Dialog
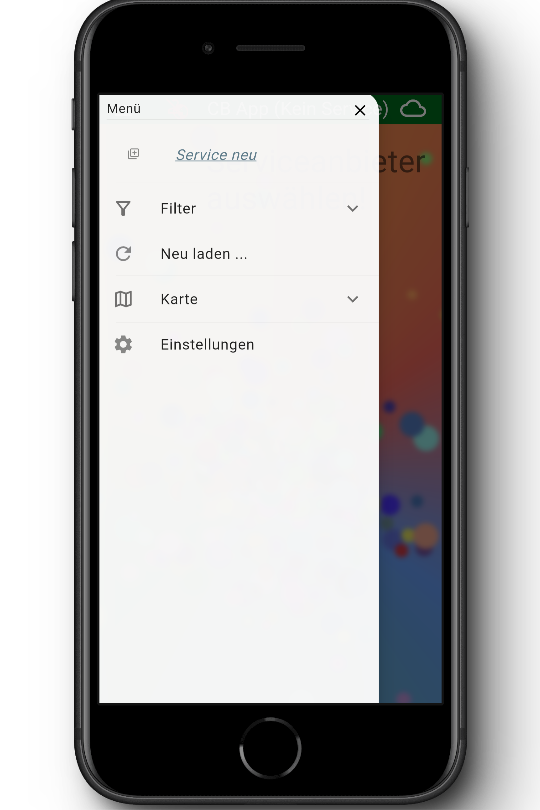
Select the menu item “Service new” and fill out the dialog box
Enter service data
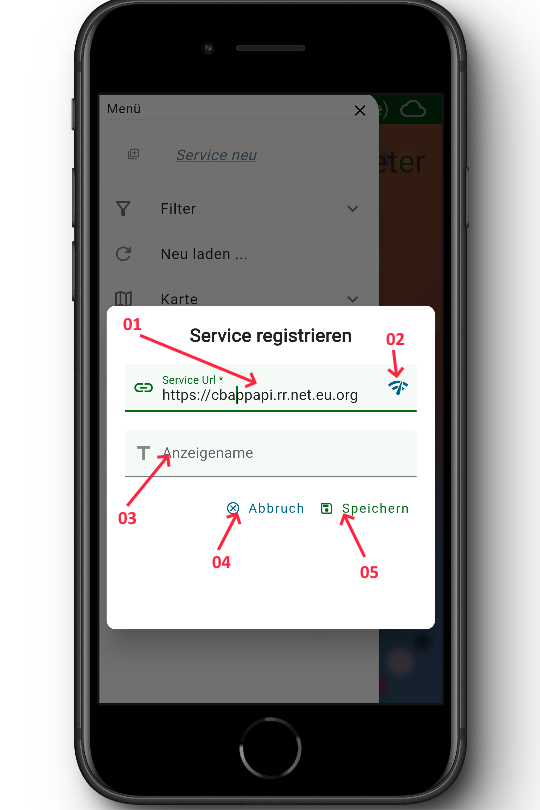
Enter the link to the provider’s website in the Service Url field. Optionally, you can enter a name for the provider under Display name so that you can find them more quickly later. Now click on “Save”.
Login data service provider (optional)
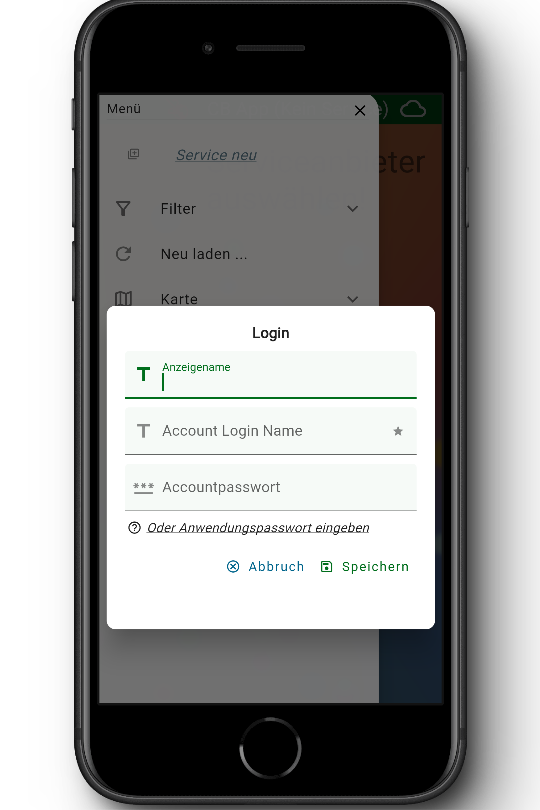
If you do not yet have a login with the service provider, simply click Cancel here.
If you have a login with the service provider, enter the login data here “Account login name” and “Account password” are mandatory entries, under Display name you can enter a name that will be displayed in the app. Confirm the entries with “Save”.
First steps
The available stations of the provider are displayed on the map with a bicycle sign symbol.
If you tap on one of the symbols on the map, you will receive an overview of the station and its articles.
Show station overview
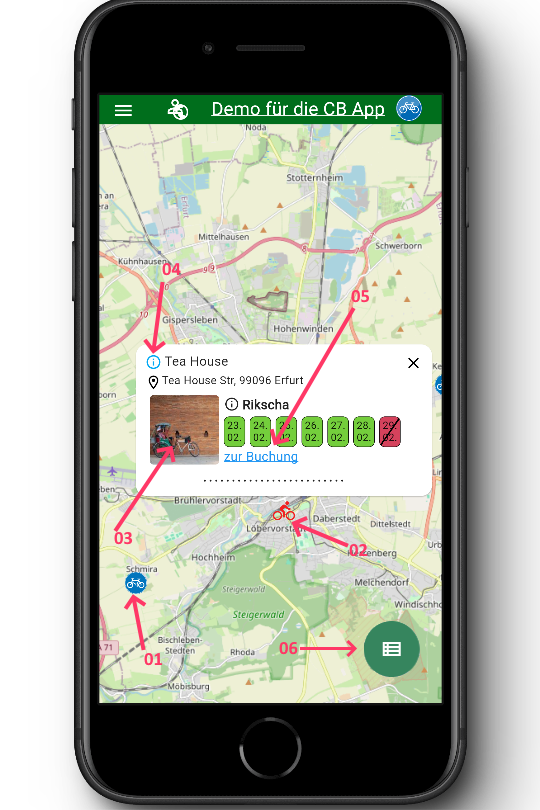
The pop-up shows the availability of the item for the next six days.
The stations are displayed as symbols (01). The active station is displayed as a red bicycle symbol (02). The elements of the station pop-up can be clicked and have the following function:
03 – the details of the item are displayed
04 – the station’s details are displayed
05 – the booking calendar for this item is displayed.
Availability/Booking
If you have opened the booking calendar, the availability of the item will be displayed. If you are logged in correctly, you can also make a booking.
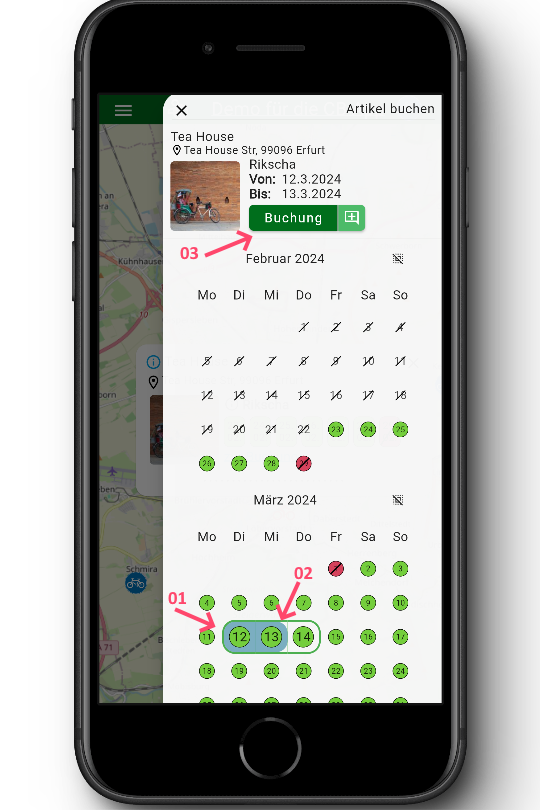
If you tap on a free day (01), a green frame shows you the maximum number of days you can book the item. If you tap on a second day within the permitted range (02), you can make the booking using the “Book” button (03).
Bookings
If you are logged in, you can call up the “Booking list” item via the main menu and receive a list of your current and future bookings.
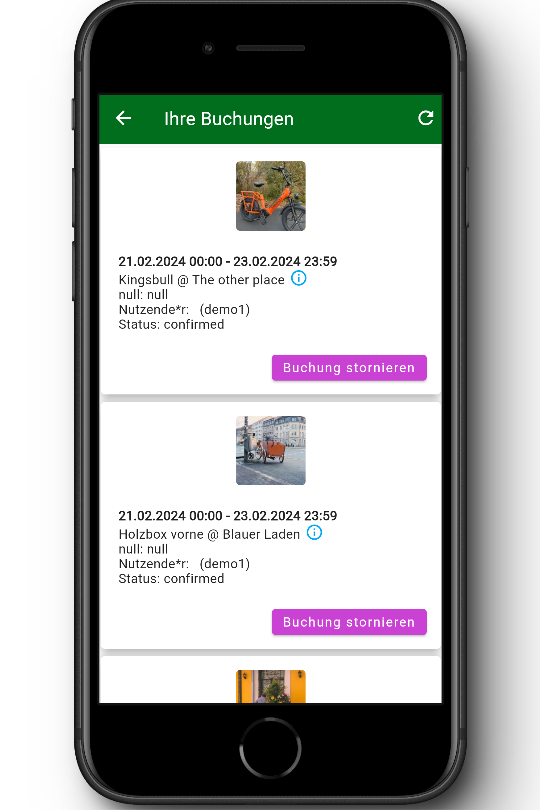
They are shown the details of their bookings and can cancel them if necessary.